
Head Office Interaction Specifications
:Login session
.
Input
: Employee ID, password Expected Output: the MAIN MENU screen is displayed. Expected Error: Invalid Employee ID and/or password.
Process Description:
The login session is used to verify if the user has the authorization to access the system. If the (Employee) ID and the password does not match the information in the database, the system will not allow the user to access the system. An error message is displayed and the login screen is redisplayed.
If the ID and the password match the information in the database, depending on the employee ID, the system will either display the Main Menu for the PETRO 451 officer at Central Office or the Delivery Operation for the delivery clerk.
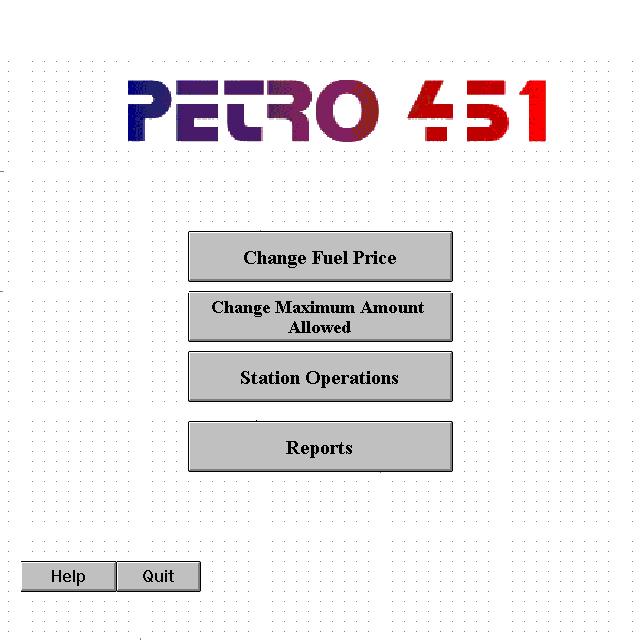
Main Menu selection.
Input
: menu choiceExpected Output: A sub-menu for the selected option.
Selection:
The user would click on the button which allows the user to do the task he/she wishes to perform.
![]() Change Fuel Price: This option allows the user to modify the price at the gas station. In effect, the price on the Street Sign will also be changed.
Change Fuel Price: This option allows the user to modify the price at the gas station. In effect, the price on the Street Sign will also be changed.
![]() Change Maximum Amount Allow: This option allows the user to change the maximum amount of money the user could purchase.
Change Maximum Amount Allow: This option allows the user to change the maximum amount of money the user could purchase.
![]() Station Operations: This option allows the user to perform general operations at the gas station (check pump, shutdown pump...) Once this option is selected, a submenu for specific operation is displayed.
Station Operations: This option allows the user to perform general operations at the gas station (check pump, shutdown pump...) Once this option is selected, a submenu for specific operation is displayed.
![]() Reports: This option allows the user to print reports and monthly summaries.
Reports: This option allows the user to print reports and monthly summaries.
![]() Help: This is an online option.
Help: This is an online option.
![]() Quit: Once this option is selected, the system clear the screen.
Quit: Once this option is selected, the system clear the screen.
The user is logged off and the login screen is displayed.
![]() Change Fuel Price
Change Fuel Price
Input: fuel price
Expected Output: the fuel price is changed, the fuel price on the street sign is changed also.
Expected Error: invalid input (i.e., user enters negative number )
Description: Once this option is chosen, the system will display the current fuel price. User could change the fuel price to a new value. The user could use the mouse to click on the OK button to confirm the changes or click on the Cancel button to return to Main menu.
If an invalid input is entered, the system will display an error message and the fuel price is changed back to the old value.
Example: If the user (Petro 451 officer) wants to change the fuel price for Regular gas:
![]() At the Main Menu, the user click on the button Change Fuel Price.
At the Main Menu, the user click on the button Change Fuel Price.
![]() A screen is display with information of fuel price for each type of gasoline.
A screen is display with information of fuel price for each type of gasoline.
![]() The user clicks on the box labeled Regular gas and changes the value in the box to a new price.
The user clicks on the box labeled Regular gas and changes the value in the box to a new price.
![]() The user click on OK button to confirm the change or Cancel button to abort the change.
The user click on OK button to confirm the change or Cancel button to abort the change.
![]() The system returns to Main Menu.
The system returns to Main Menu.
![]() Change Maximum Amount Allowed for a Single Purchase
Change Maximum Amount Allowed for a Single Purchase
Input: maximum amount of money allowed for each time purchased.
Expected Output: the maximum amount of money is changed to a new value.
Expected Error: invalid input, (i.e. user enters negative number )
Description: Once this option is chosen, the system will also display the current value of the maximum amount of money allowed. The user could change the amount to a new value and click on the OK button to confirm the changes, or click on the Cancel button to cancel the operation and return to Main Menu.
In this process, when invalid input is entered, the system will display an error message and the old value for the maximum amount of money is restored.
Example: If the user (Petro 451 officer) wants to change the maximum amount of money a customer could purchase each time:
![]() At the Main Menu, the user clicks on the Change Maximum Amount Allow button.
At the Main Menu, the user clicks on the Change Maximum Amount Allow button.
![]() A small screen is displayed with current maximum amount of money allowed for each type of gas.
A small screen is displayed with current maximum amount of money allowed for each type of gas.
![]() The user clicks on the appropriate box and change to new value.
The user clicks on the appropriate box and change to new value.
![]() The user clicks on OK button to confirm the change (or Cancel button to Abort the change).
The user clicks on OK button to confirm the change (or Cancel button to Abort the change).
![]() The system returns to Main Menu.
The system returns to Main Menu.
![]() Station Operations
Station Operations
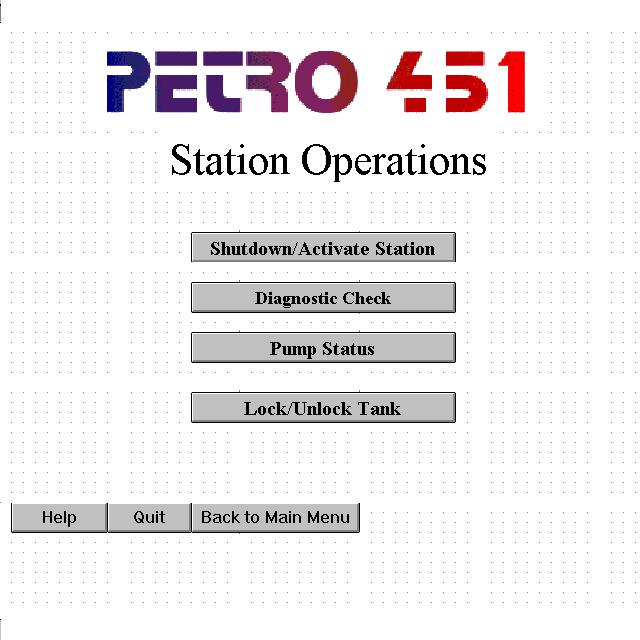
Input: Menu selection will be in the form of buttons that can be selected by mouse click.
Output: System will enter the selected option and bring up a corresponding information screen.
Errors: The keypad will not respond to any presses during the operation of this menu, and the selections made available are valid selections so no errors can be made.
Selections:
![]() Activate / Shutdown Facilities
Activate / Shutdown Facilities
![]() Diagnostic Check
Diagnostic Check
![]() Pump Status
Pump Status
![]() Lock / Unlock Tank
Lock / Unlock Tank
![]() Return to Main Menu
Return to Main Menu
![]() Help
Help
![]() Activate / Shutdown Facilities
Activate / Shutdown Facilities
Input: a) click to return to previous menu or b) toggle item status
Output: a) Station Operations menu or b) prompt to accept changes
This selection will allow the user to activate or shutdown any station facilities such as the pumps, lights, and advertising displays.
Each of these station facilities will indicate whether they are on or off so selecting one of them will toggle it (i.e. if it is already on, it will change to off; if it is already off, it will change to on).
Changes will not take effect until the screen is exited. When exiting with the use of the "return to Station Operations menu" button, it will prompt the user:
"Changes will now take place."
With this prompt, there will be three buttons:
![]() Continue : Make the station facilities respond
Continue : Make the station facilities respond
![]() Redo the on/off status of items : Will return to the on/off status screen for the station facilities
Redo the on/off status of items : Will return to the on/off status screen for the station facilities
![]() Cancel : Leave things as they were previously set and return to the Station Operations menu with no changes
Cancel : Leave things as they were previously set and return to the Station Operations menu with no changes
![]() Diagnostic Check
Diagnostic Check
Input: a) click return to previous menu or b) print information
Output: a) Station Operations menu or b) print display information
This selection will allow the user to see the status of the station equipment such as calibration equipment, meters, and gas flow rate. This will simply be an information display with bar indicators, number figures, and status indicators (i.e. on or off, OK or failure) of equipment. There will be a button used to exit this screen and return to the Station Operations menu. A "print" button will be offered to print out the diagnostic information in a hard copy form for the user.
![]() Pump Status
Pump Status
Input: a) click return to previous menu or b) print information
Output: a) Station Operations menu or b) print display information
This selection will display information about the status of all the pumps at the station. This screen is divided by the number of pumps available at the station and it will contain general information about each pump. More specific information about each pump can be brought up by clicking a button of each pumps section on the screen. There will be a button used to exit this screen and return to the Station Operations menu. A "print" button will be offered to print out the pump information in a hard copy form for the user.
![]() Lock / Unlock Tanks
Lock / Unlock Tanks
Input: a) return to previous menu or b) toggle item status
Output: a) Station Operations menu or b) prompt to accept changes
The display for this selection will be similar to the activate/shutdown display but instead it will have lock/unlock toggle buttons for various tanks available at the station. Each of the items will indicate it's current status (locked or unlocked). Any changes will only take effect when this screen is exited. So the prompt that will come up is:
"Changes will now take place."
With this prompt, there will be three buttons:
![]() Continue : Make the station facilities respond.
Continue : Make the station facilities respond.
![]() Redo the lock/unlock status of items : Return to the lock/unlock status screen for the station facilities.
Redo the lock/unlock status of items : Return to the lock/unlock status screen for the station facilities.
![]() Cancel : Leave things as they were previously set and return to the Station Operations menu with no changes.
Cancel : Leave things as they were previously set and return to the Station Operations menu with no changes.
![]() Return to Main Menu
Return to Main Menu
This will redisplay the main menu on the screen.
![]() Help
Help
Input: a) click to end help or b) click an item to be clarified
Output: a) Station Operations Menu or b) description of item
This will display a screen with the possible help items which may be selected. Once selected, there will be a short description of the item and examples if needed. There will be an "end help" button available to exit this option.
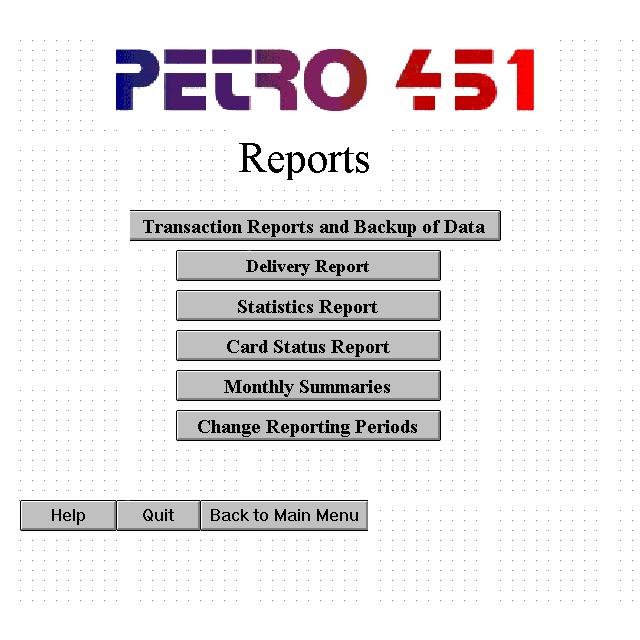
Reports
![]() Submenu for Reports
Submenu for Reports
Selections:
![]() Transaction Reports and Backup of data
Transaction Reports and Backup of data
![]() Delivery Report
Delivery Report
![]() Statistics Reports
Statistics Reports
![]() Card Status Reports
Card Status Reports
![]() Monthly summaries
Monthly summaries
![]() Change Reporting Periods
Change Reporting Periods
![]() Back to Main Menu
Back to Main Menu
![]() Help
Help
Input: Menu selection will be in the form of buttons that can be clicked by the mouse.
Output: System will enter the selection and execute the corresponding
request.
Common to selections 1 to 4, which deals specifically with the contents of the reports:
Upon selection, the system will display the corresponding data for the reports.
The user can click on the Print, Help, Back to Previous Menu or Main button. The specific fields that it will display are described in detail in the Batch Subsystem Specification under Reports and Actions.
![]() Monthly Summaries
Monthly Summaries
This selection is the same as selections 1 to 4 but the specific fields are all the fields described in selections 1 to 4 for each month.
![]() Change Reporting Periods
Change Reporting Periods
This will display the current reporting period and a section for the user to enter the new reporting period.
Input: number of days, month and time. Days, month and time will have to be in the correct format in order to update.
Output: prompt the user yes or no if change is to be updated.
Error: If invalid input is received from the user then the system will specify that an invalid input has been received please enter again.
Example: If user requested that every two weeks at 2:00 PM to print the report then input would be 14 day(s), 0 month(s), st 14:00 for the time.
If the user decides to accept the change then the new reporting period will be displayed as the current reporting period.
![]() Back to Main Menu
Back to Main Menu
This will bring the user back to the main menu screen.
![]() Help
Help
This will display each of the possible selections in the menu and a description of its functionality.
Help
Input
: NoneExpected Output: An online Help screen is displayed.
Expected Error: None
Description: This is an online Help option. The Help screen will describe each option on the Main Menu and will instruct user how to choose the appropriate choice to perform the right task.
Quit
Input
: NoneExpected Output: None
Description: When the Quit button is clicked on, the user is logged off the system and the login screen is redisplayed.
FUEL DELIVERY
When a fuel delivery to the station is made, the deliverer will be asked to login to the system. The system will recognize the access level, and allow the user to perform only a very restricted number of operations.
![]() Fill Gas Tank
Fill Gas Tank
Input: amount of gas unloaded.
Expected Output: the measurement of gas delivered.
The screen will show which tanks are authorized for unlocking by the user, (that is, tanks not locked from the central office,) display the type of fuel stored in each, and allow the user to unlock these by clicking on a button corresponding to the appropriate tank. A message will also be displayed, asking the user to enter the amount of fuel dispensed into the tank once the filling is finished.
This screen will be similar in appearance to the Lock/Unlock Fuel Tank screen, but the action of the Fuel Delivery screen will in no way override the actions of that screen. Rather, a tank can only by unlocked form the Fuel Delivery screen if it has been previously unlocked on the Lock/Unlock Fuel Tank screen, either from the main office, or by maintenance personnel at the station. A tank can only be physically opened if it has been unlocked from both screens.
When the tank is filled, the user will be expected to enter the amount of fuel dispensed. The input will be checked to ensure that it is numeric. If it is not, a message will be displayed asking the user to reenter the value, stressing that units are not required. The input value as well as the new gauge level reading will be stored in the central database. Only then will the user's access card be returned, the tank is automatically locked and the system will return to the login screen.
Send comments to
Supplier Group 11 |Last Updated on 1/20/97
By Carey Dean Bingham
Email
