|
|
|
|
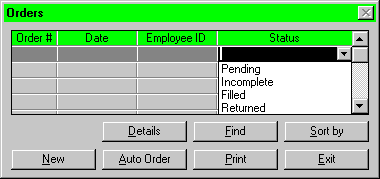 Clicking the Orders button on the main menu will bring up the orders screen.
This consists of a table which contains all of the orders currently in the
system as well as some buttons for manipulating orders. Any employee can
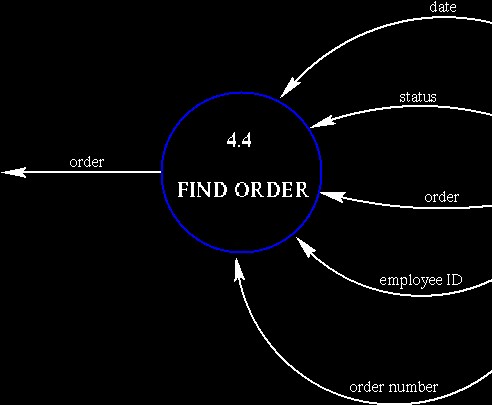
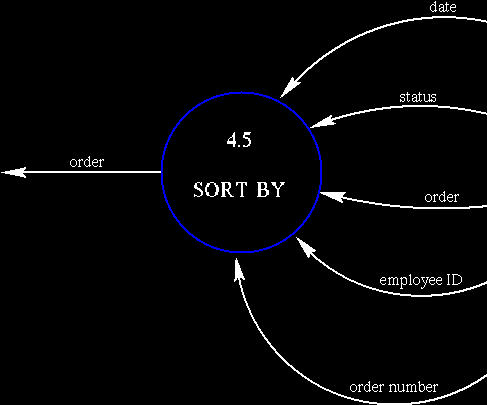
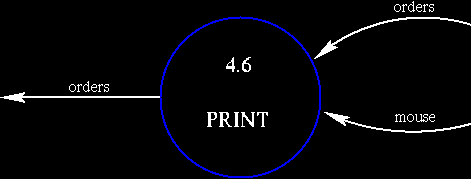
enter the orders screen and use the SEARCH, SORT BY and
PRINT functions, but only those with security access can
modify or create orders.
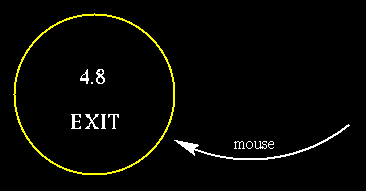
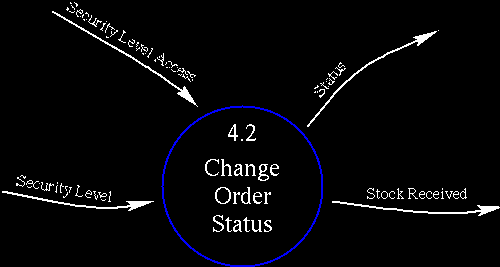
Anybody without proper security will find all the buttons except for SEARCH, SORT BY, PRINT and EXIT grayed out. A possible future change to the system would allow the orders table to be archived on paper and disk, say, every month. For now, the orders database will just continue to grow indefinitely.
The table will have 4 columns - order number, date ordered, employee number and status. The order number is what the table is initially sorted by, with the highest number (most recent order) first. Employee number is used to tell who made the order. The status of the order can be one of the following: pending (an order that has been sent to the warehouse), filled (an order that has been filled by the warehouse and sent to the store), complete (the store receives the complete order), and incomplete (part of the order is missing or damaged).

The buttons beneath the table consist of the following:
- NEW
-
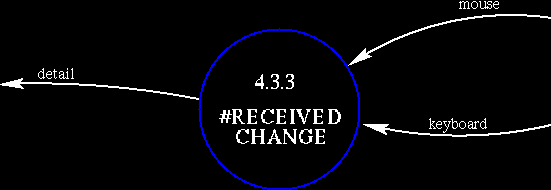
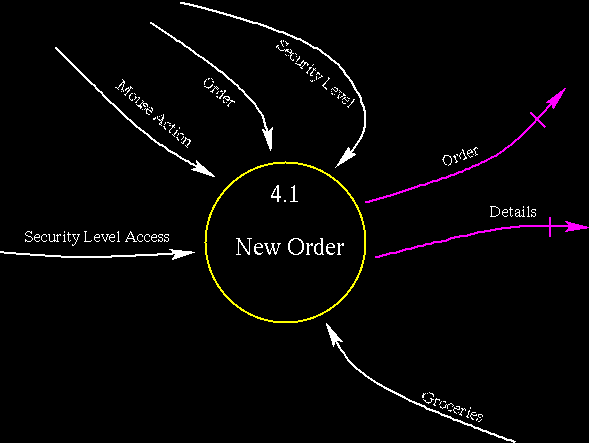
By using the mouse to click on the NEW button on the orders
menu, a user begins the process of creating a new order.
The first event which occurs is the displaying of the NEW ORDER interface. The NEW ORDER interface screen is set up as follows:
At the top of the interface screen is a section which displays all of the information which is saved in conjunction with an order. This includes:
- The current date and time
- The employee ID
- The order number
- The store ID
Each of these are set automatically.
The middle section of the NEW ORDER interface screen is where items can be placed on an order.
There is a table on the left which displays a listing of every grocery which is carried by the warehouse. The items are displayed in order of UPC number, and a description of each one is given. This table has the following functionality:
-
The table will only display groceries if they fall into a
category to which the user has security access to. Thus, a meat
manager will not be given the opportunity to accidentally order
produce, and a pharmacist will not be able to place an order for baked
goods.
-
A scroll bar on the right edge of the table is used to
manually search through the list.
-
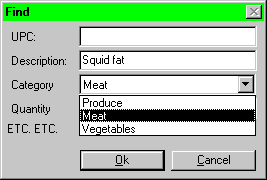
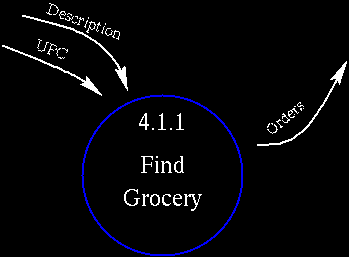
A find button below the table brings up a dialogue box where a
user can enter a UPC number or a brief description, and the table will
automatically scroll so that the indicated UPC number or description
is displayed.
- A sort button below the table allows the user to select whether the list should be displayed in order of UPC number, or in alphabetical order of Description.
A second table on the right of the groceries table displays the actual order being made. The items are displayed in order of UPC number, and the quantity ordered is also listed. This table has the following functionality:
-
A scroll bar on the right edge of the table is used to
manually search through the list.
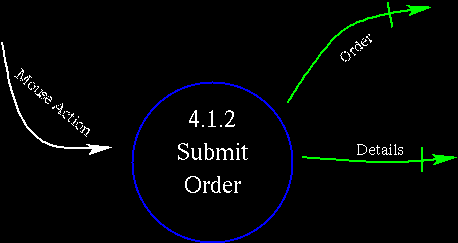
- Below the new order table is a SUBMIT button. When the order is done, the user clicks this button to have the order processed. This adds the order to the orders database and updates the big orders table on the previous screen. After the order has been submitted, the NEW ORDER window disappears.
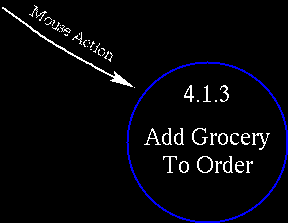
A right arrow button to the left of the table increments the number of items to be ordered. The item highlighted on the Groceries table is what is affected on the Order table. If an item is not listed on the order table, it is added to the table, and the quantity is set to 1. Each subsequent time this button is clicked on, the quantity increases. By clicking and holding on the button, the quantity can be raised very quickly.
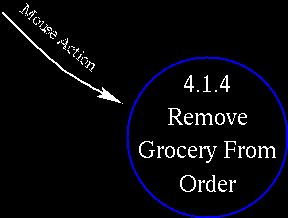
A left arrow button to the left of the table decrements the arrows. If the highlighted item on the Groceries table is not listed on the Order table, no action results from clicking on this button. If there is a quantity of one given for the highlighted item, clicking on the left arrow button removes that item from the order form. Otherwise, the quantity is reduced by one. By clicking and holding on the left arrow button, the quantity can be lowered very quickly.
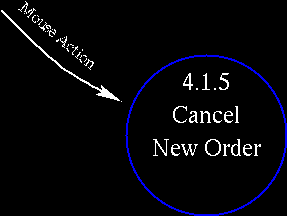
Lastly, in the bottom-right corner of the table, a CANCEL button is displayed. When the user clicks this button, the current NEW ORDER is discarded, and the NEW ORDER interface screen disappears, replaced by the ORDERS interface screen.
- The current date and time

